Table of Contents
- Step 1. Create Test Session
- Step 2. Open Test Session
- Step 3. Understand Main Window Layout
- Step 4. Explore Toolbar
- Step 5. Understand Test Script Structure
- Step 6. Adjust Test Script Parameters
- Step 7. Run Test
- Step 8. Follow Test Instructions
- Step 9. Select Network Interface
- Step 10. View Traffic using Wireshark
- Step 11. Remember to Adjust Performance
- Step 12. Explore Unlimited Testing Possibilities
Welcome to Tekvel Magic! (◕‿◕)
I'll help you get started with the product. Let's begin!
Step 1. Create Test Session
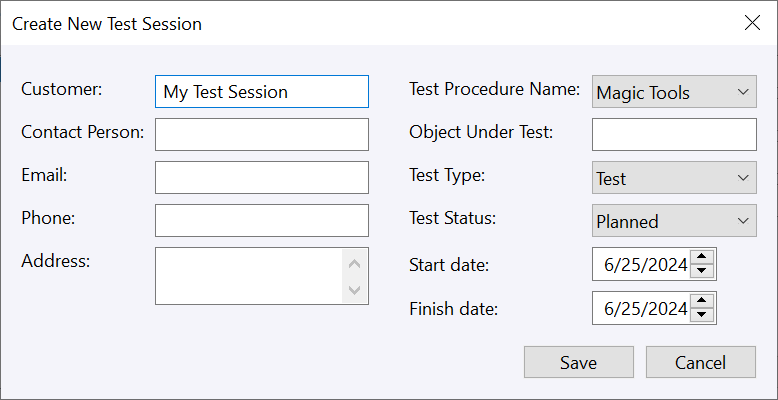
First, you need to create a test session. Select Magic Tools as a Test Procedure for your first experience with Tekvel Magic.
Step 2. Open Test Session
Once the test session is created, you can open it. Select the desired session from the list, and press Open.

Step 3. Understand Main Window Layout
After opening the test session, you will find yourself in a workspace with four main sections. These sections are designed to help you navigate and utilize the various features of Tekvel Magic efficiently.

- List of tests scripts available in the test procedure.
- Test script source code.
- Results of previous executions of the test.
- Test log.
Step 4. Explore Toolbar
On the toolbar, you will find icons for performing basic actions such as saving, running tests, and editing scripts. Familiarize yourself with these icons to enhance your workflow.
Step 5. Understand Test Script Structure
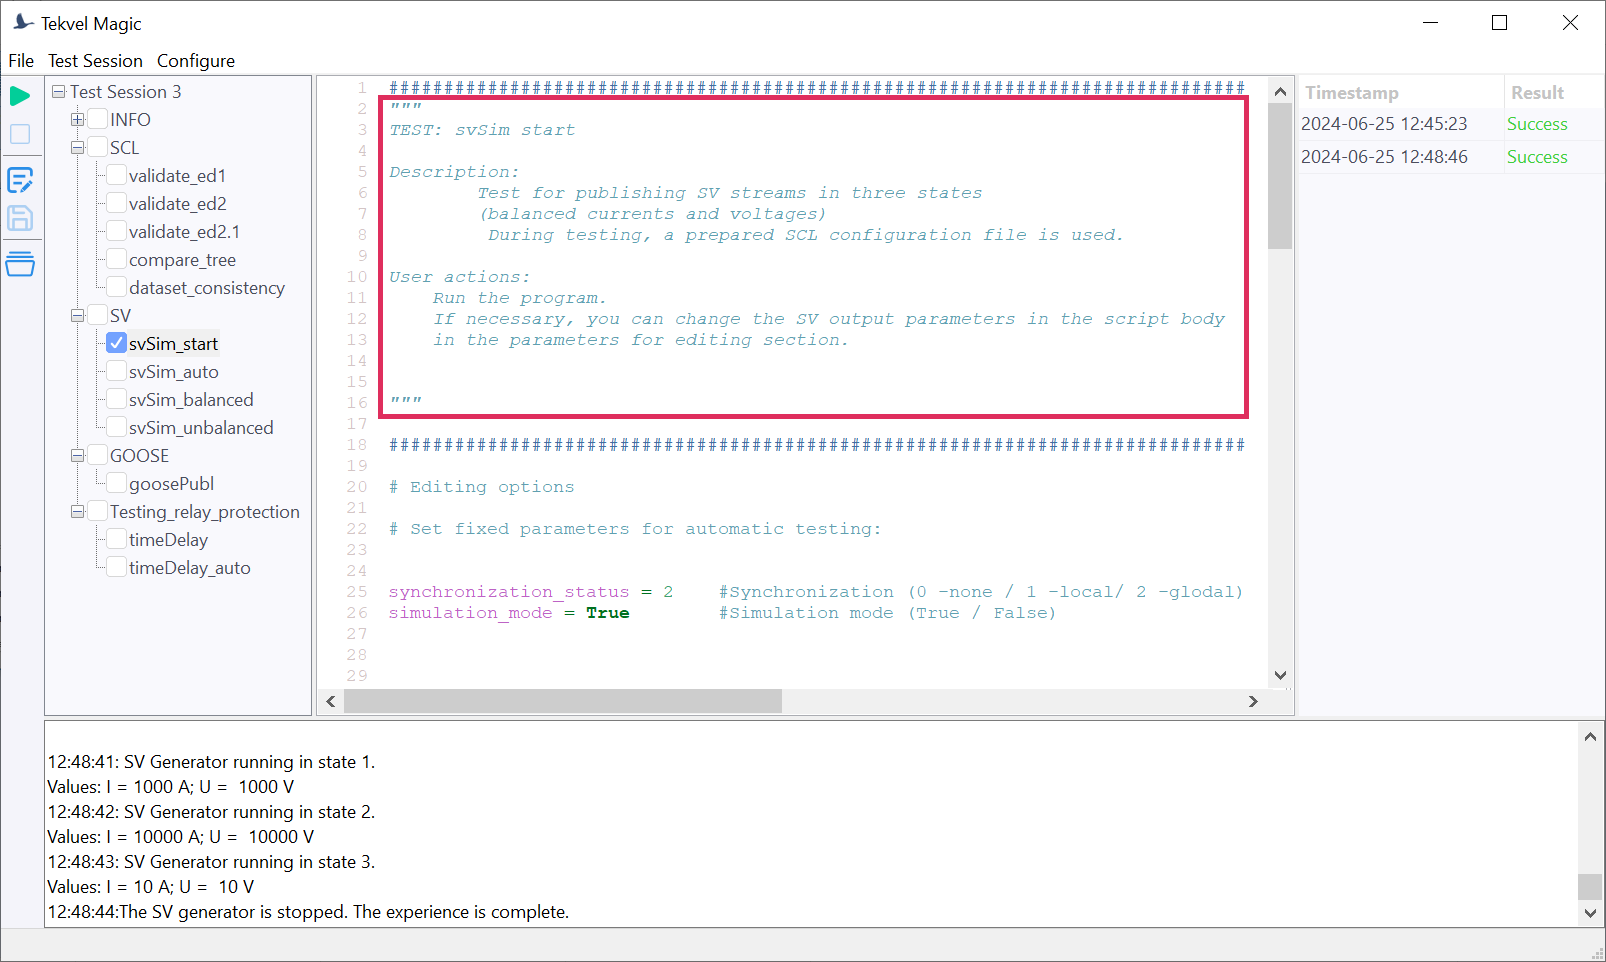
Let's run the test! First, review the available tests and their descriptions to understand what each test does and how it will benefit your session.
Step 6. Adjust Test Script Parameters
If necessary, you can adjust the parameters in the script by clicking the Edit button in the Toolbar. This allows you to customize the test to better suit your specific needs and requirements.

Step 7. Run Test
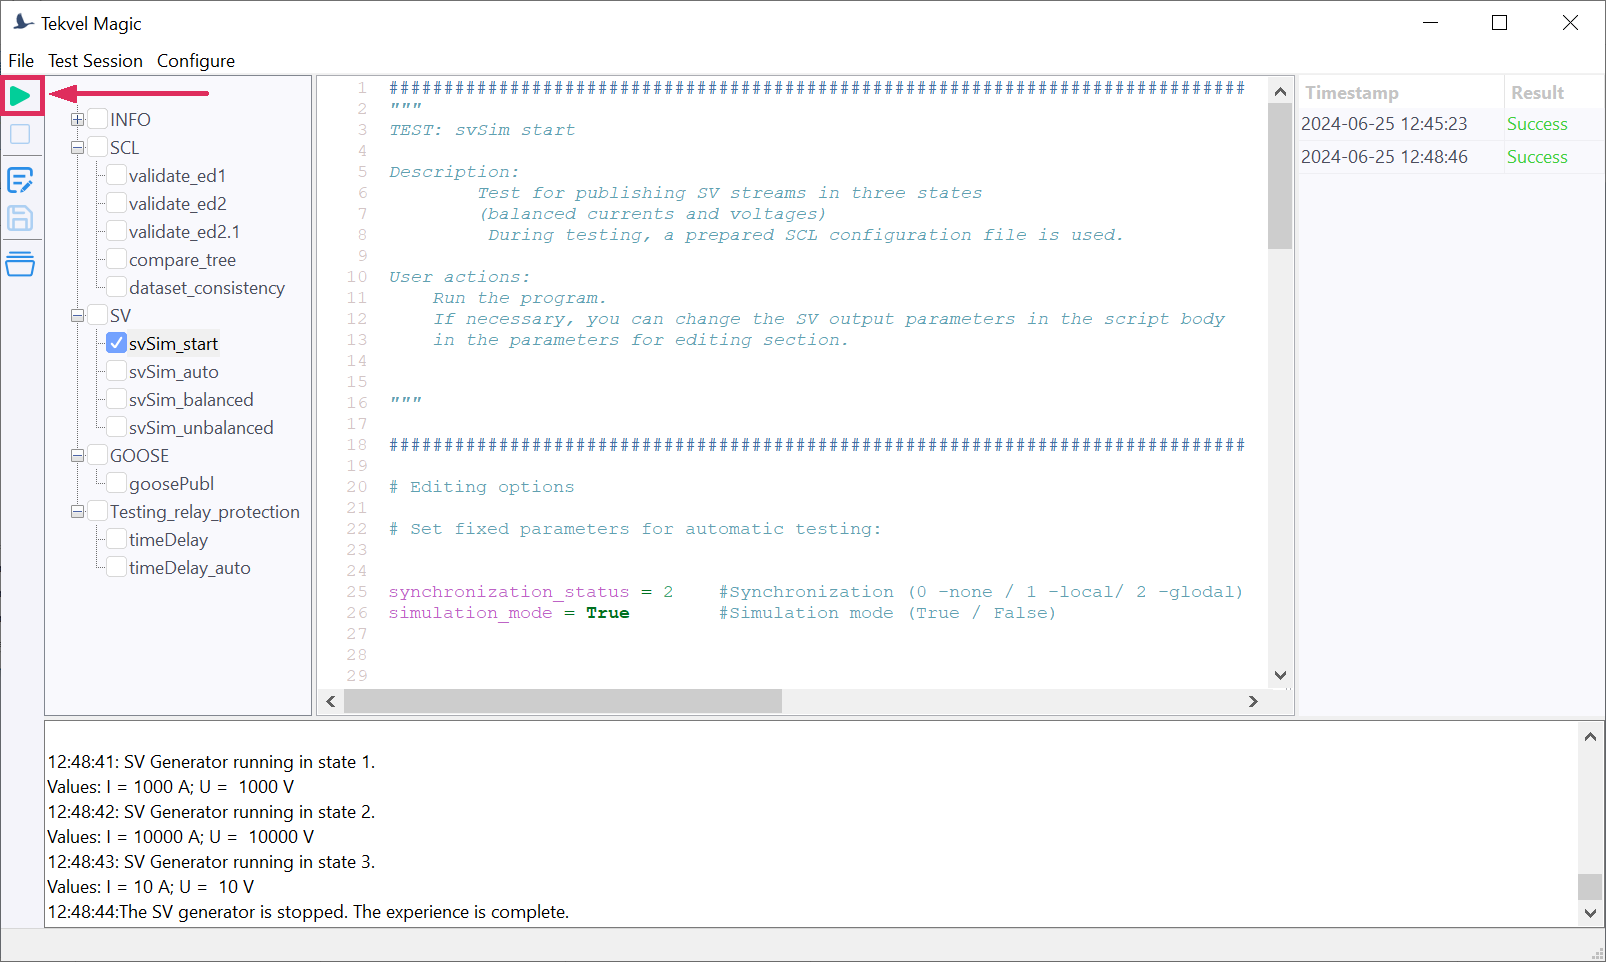
After setting up your test script, click Run to initiate the test. Monitor the progress to ensure everything is functioning correctly.
Step 8. Follow Test Instructions
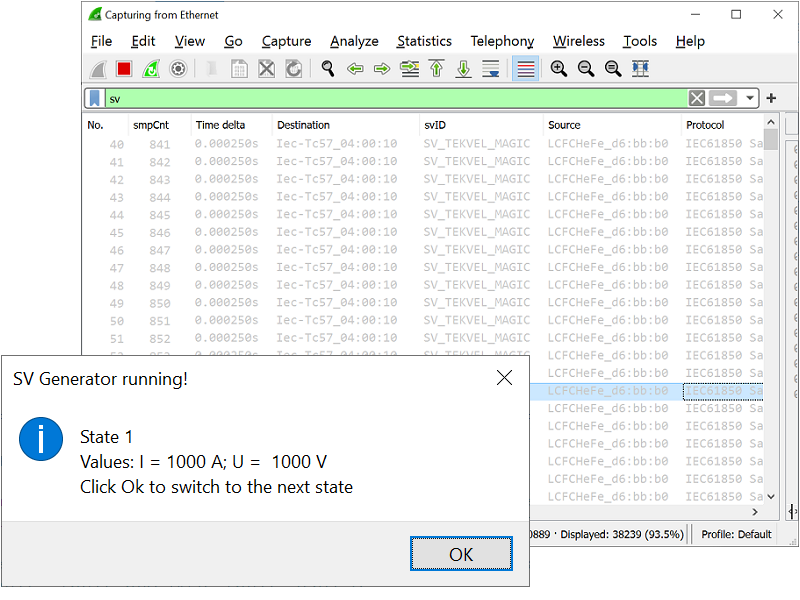
During testing, follow the instructions provided in the dialogue boxes. These instructions guide you through each step to ensure the test runs smoothly.
Step 9. Select Network Interface
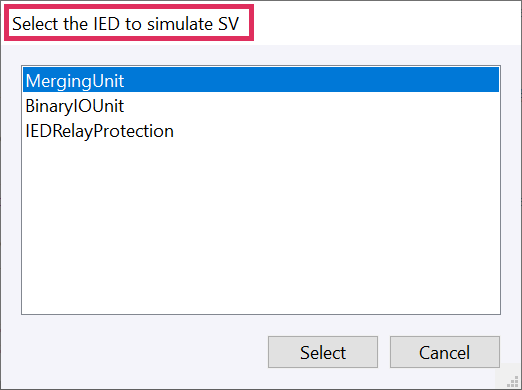
When choosing a network interface, refer to the description of the Ethernet adapter in the "Network Connections" section of your computer. This step is crucial for accurate network testing.

Step 10. View Traffic using Wireshark
To view the traffic generated by the program, you can use specialized traffic capture applications like Wireshark. This tool helps you analyze the network data in detail.
Step 11. Remember to Adjust Performance
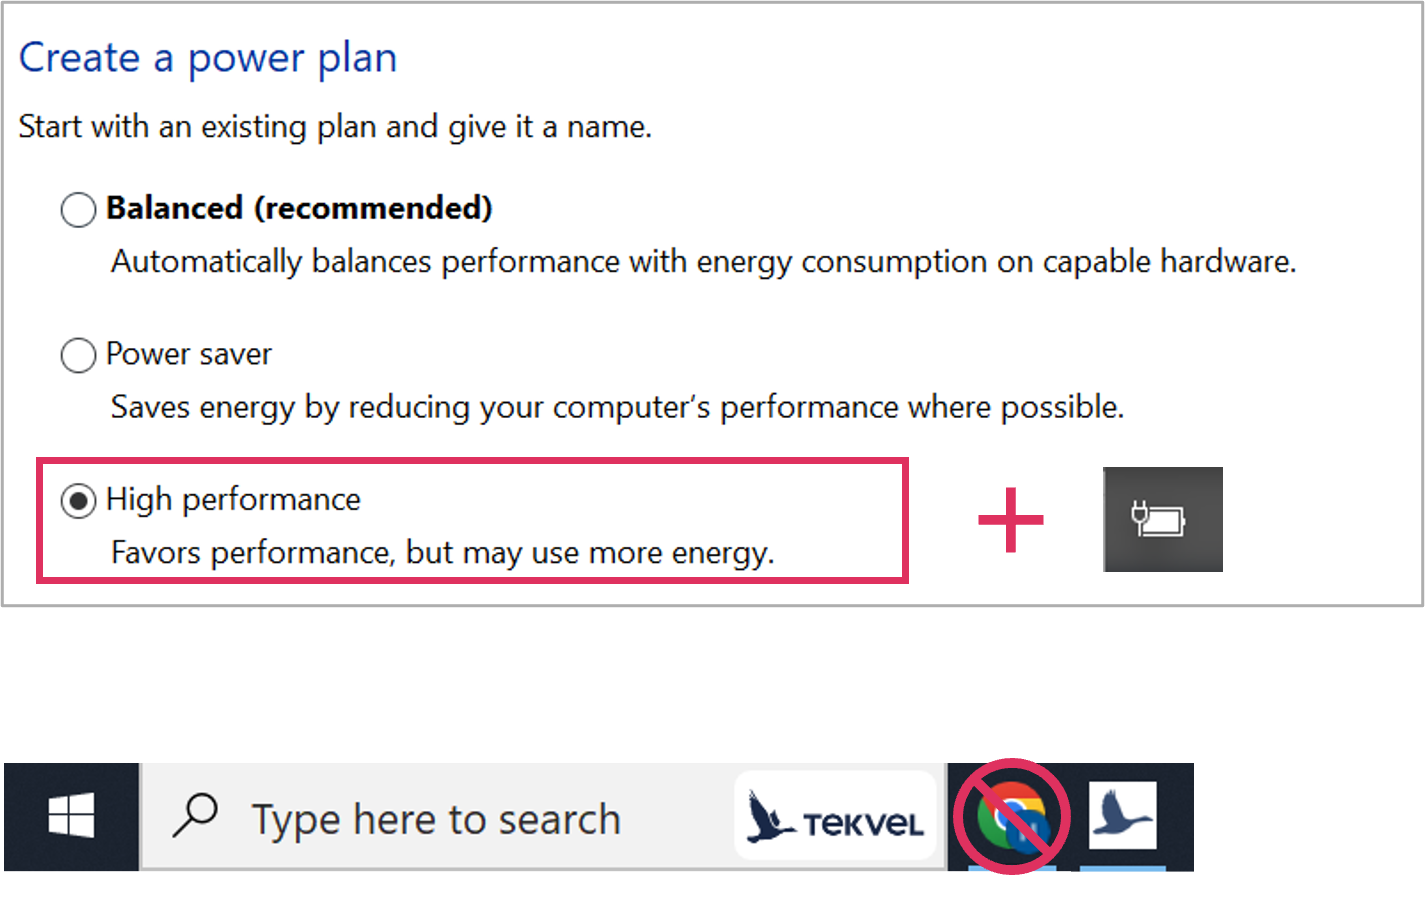
To ensure the high stability of the publisher, we recommend selecting high-performance mode and ensuring your computer is connected to a power source. Also, close all unnecessary applications during testing to maximize performance.
Step 12. Explore Unlimited Testing Possibilities
That's all, folks! ╰(◕‿◕)╯
Now that you have studied the program's usage guide, you are ready to work with it yourself. If you have any additional questions or need help, do not hesitate to contact our support team.
Thank you for using our product!